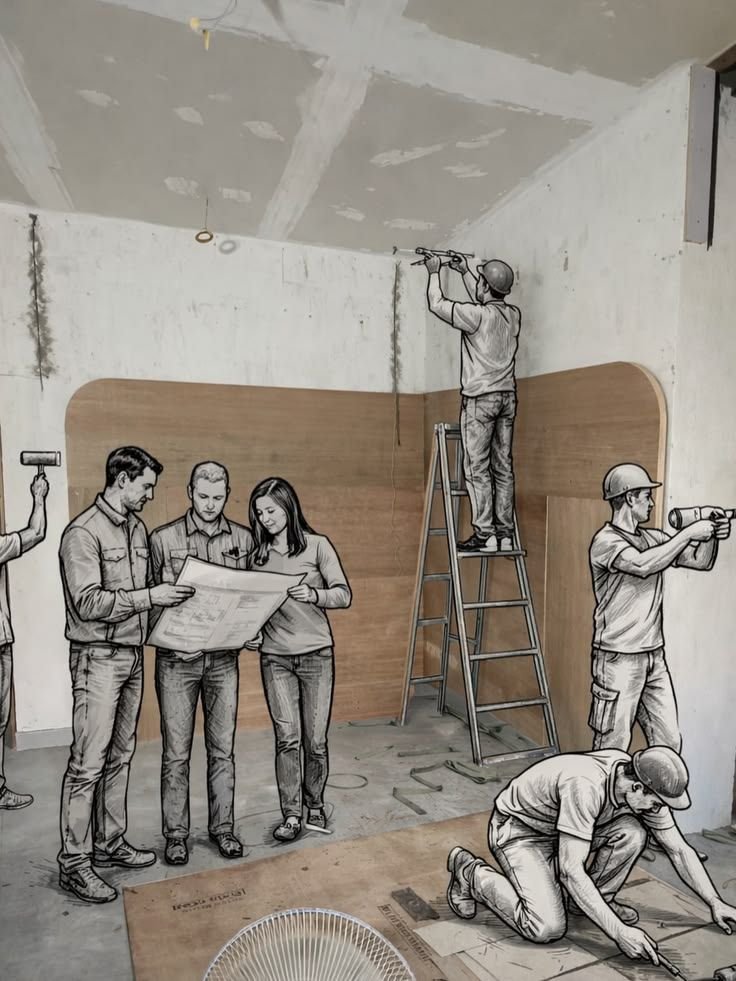
Main Interior Finishing Stages After Blockwork in a Residential Villa
What happens after blockwork is completed? This guide explains the typical sequence of interior finishing works in a residential villa, from MEP first fix and plastering to ceilings, flooring, joinery, final fixtures and handover.
Once the blockwork of a residential villa is substantially complete, the project moves into one of its most coordination-intensive phases: MEP installation and interior finishing.
The exact sequence varies according to the construction system, specifications and contractor methodology. Some activities also overlap. However, understanding the general order helps architects and site teams avoid rework and conflicts between trades.
1. MEP First Fix
Before plastering and closing walls or ceilings, the first stage is typically the concealed Mechanical, Electrical and Plumbing (MEP) installation.
This may include:
Electrical conduits and boxes
Plumbing supply and drainage pipes
Air-conditioning pipes and ducts
Data and communication conduits
Fire and life-safety services where required
Openings, sleeves and service routes
Locations should be coordinated with architectural drawings, furniture layouts, reflected ceiling plans and joinery before closing the surfaces.
2. Testing Concealed Services
Concealed services should be inspected and tested as required before they become inaccessible.
Depending on the system, this may include plumbing pressure tests, drainage checks and inspections of electrical and mechanical installations.
Fixing an issue at this stage is usually far easier than breaking finished walls or floors later.
3. Internal Plastering
After completing the relevant concealed wall services, internal plastering can proceed.
Walls are prepared and plastered to create a level surface for paint, tiles and other finishes.
At this stage, special attention should be given to wall alignment, corners, door openings and interfaces with other materials.
4. Wet-Area Waterproofing
Bathrooms, shower areas and other specified wet zones require waterproofing before the final floor and wall finishes are installed.
The substrate must be properly prepared, and the waterproofing system should be applied according to the specified product and project requirements.
Testing should be completed where required before covering the membrane.
5. Floor Screed and Level Coordination
Floor screed establishes the required levels and provides a suitable base for final flooring.
This stage requires coordination between different finishes such as:
Porcelain
Marble
Wood
Carpet
Vinyl or SPC
Material thicknesses should be considered so that transitions between rooms remain properly aligned.
6. Gypsum Ceilings and MEP Coordination
Suspended ceiling framing can then progress according to the reflected ceiling plan.
Before closing the ceiling boards, the team should verify the positions of:
Air-conditioning diffusers
Lighting fixtures
Smoke detectors
Sprinklers where applicable
Speakers
Access panels
Curtain pockets and concealed lighting
This coordination is particularly important in high-end villa interiors where multiple systems share the same ceiling.
7. Tiling and Stone Installation
Once the substrates, waterproofing and levels are ready, tile and stone installation can begin.
This includes bathroom walls and floors, porcelain flooring, marble, skirting and other specified finishes.
The contractor should confirm layouts, joints, patterns and material transitions before installation.
8. Painting
Painting generally involves several operations rather than one final coat.
Typical work includes surface preparation, putty or filler, sanding, primer and finishing coats according to the specified paint system.
Final coats may be coordinated with later works to reduce damage during joinery and fixture installation.
9. Doors, Joinery and Fixed Furniture
The project then moves toward installation of architectural components such as:
Internal doors
Wardrobes
Kitchen cabinets
Vanity units
Wall panels
Decorative joinery
Built-in furniture
Accurate site measurements are essential, particularly when custom joinery interfaces with finished floors, ceilings, stone or MEP points.
10. MEP Second Fix
After major finishes are sufficiently complete, visible MEP components can be installed.
These may include:
Switches and sockets
Light fixtures
Sanitary fixtures
Faucets and mixers
Air-conditioning grilles and diffusers
Thermostats and controls
This phase is commonly known as MEP second fix.
11. Final Finishes and Accessories
The final visual elements are then completed, such as mirrors, bathroom accessories, decorative lighting, handles, glass partitions and other interior details.
Protection of completed flooring, joinery and stone becomes especially important during this stage.
12. Testing, Snagging and Handover
Before handover, MEP systems should be tested and commissioned as required, and the completed interior should undergo a detailed inspection.
A snag list or punch list records defects, incomplete works and items requiring correction.
After rectification, final cleaning and required inspections, the interior can proceed toward handover.
A Simplified Finishing Sequence
A practical way to remember the overall workflow is:
Blockwork → MEP First Fix → Testing → Plastering → Waterproofing → Screed → Ceiling Works → Tiles & Stone → Painting → Joinery & Doors → MEP Second Fix → Accessories → Testing & Snagging → Handover
The sequence is not completely rigid. Professional planning and coordination between architectural, MEP and interior trades should determine the final construction program.
Conclusion
Interior finishing after blockwork is a highly coordinated process. The most important principle is to complete and verify concealed services before covering them and to coordinate floor, wall, ceiling and joinery details before final installation.
Good sequencing reduces demolition, rework, delays and damage to completed finishes, while helping the villa reach the intended design quality.
References
International Code Council — Building Safety: https://www.iccsafe.org/about/periodicals-and-newsroom/building-safety-journal/
International Code Council — Building Inspections: https://www.iccsafe.org/building-safety-journal/bsj-dives/the-power-of-building-code-inspections-and-home-inspections-in-safeguarding-your-home-part-1/
National Association of Home Builders (NAHB): https://www.nahb.org/
National Tile Contractors Association (NTCA): https://www.tile-assn.com/
Related articles
Main Stages of Building a Residential Villa
Building a residential villa involves a coordinated sequence of design, approvals, site preparation, structural work, MEP systems, finishes, testing, and handover. Understanding these stages helps owners and designers follow the project and avoid costly coordination problems.
Read article →
Key Construction Project Terms: Design, Pricing and Execution
Construction projects use a wide range of technical and commercial terms. This practical glossary explains common terminology used in design, tendering, pricing, contracting and site execution.
Read article →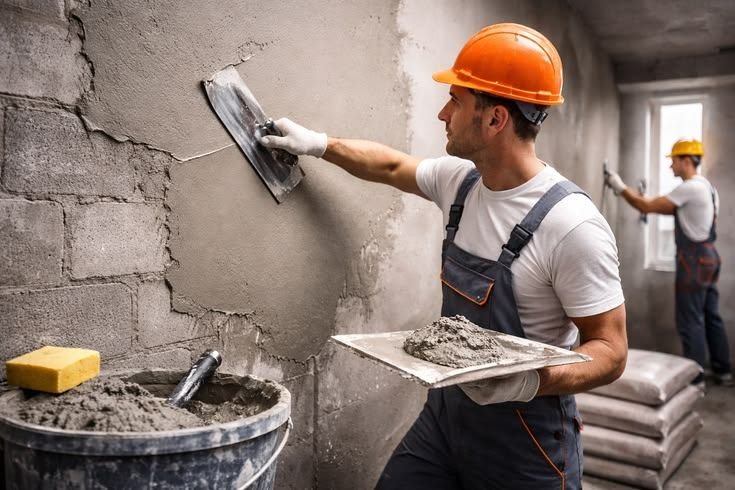
Plastering Works in Residential Construction: Key Steps and Quality Checks
Plastering transforms unfinished blockwork into level surfaces ready for paint, tiles and other finishes. This guide explains the main plastering stages, preparation requirements and common quality issues in residential construction.
Read article →